

The Vehicle Wrap Workflow, Step By Step — Where The Job Actually Makes Or Loses Money
Oct 08, 2026
Leave a message

The Vehicle Wrap Workflow, Step by Step - Where the Job Actually Makes or Loses Money
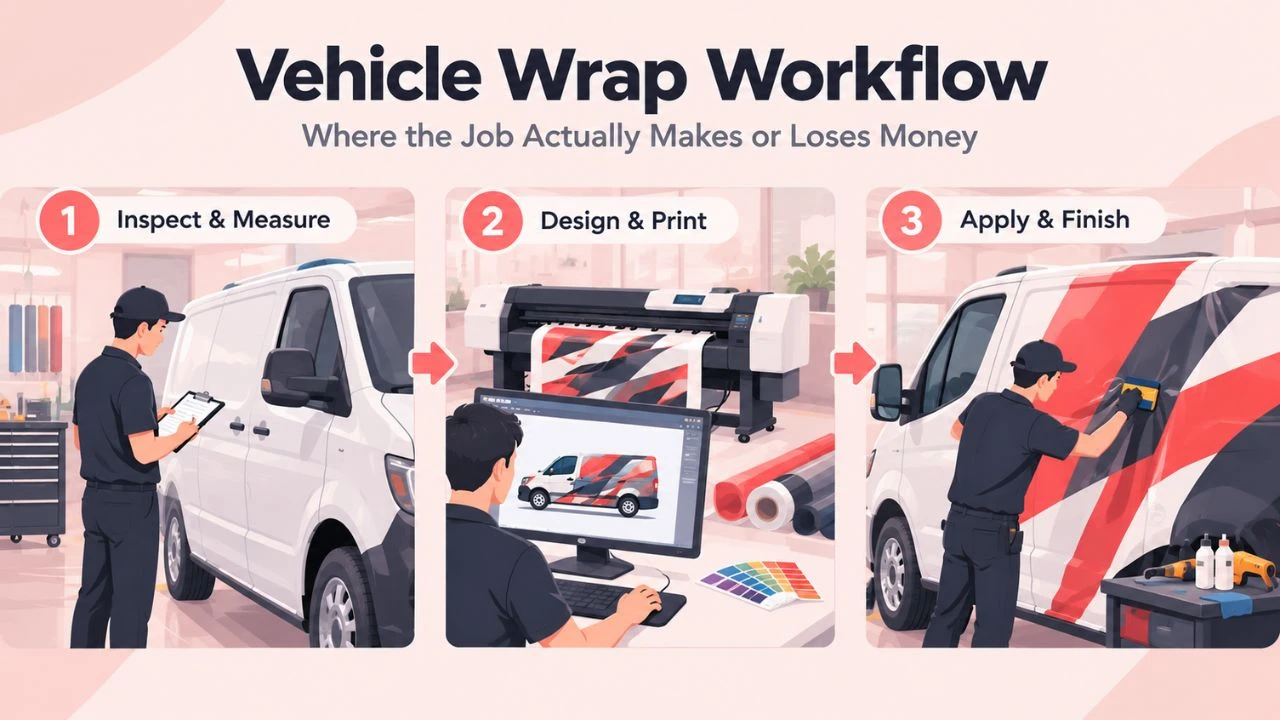
Most wrap jobs don't fail in the design stage or on the printer. They fail in the gaps between steps: the panel that was measured before the surface was inspected, the removal nobody quoted, the edge that was never sealed. Each gap costs labor you can't bill, and labor is where the profit in a wrap actually lives.
Here's the sequence, with what goes wrong at each stage - and where a camera-equipped plotter changes the math.
Step 1 - Inspect Before You Quote, Not After
The quote is a work estimate, and you can't estimate work you haven't seen. Walk the vehicle and write down:
- Panel count and curvature. Flat cargo panels and compound-curve bumpers are the same amount of film and completely different amounts of labor.
- Surface condition. Rust, failing clear coat, peeling paint, or previous vinyl all mean prep time you cannot cut film through. If the paint comes off with the film, that's a conversation you want to have before you start.
- Existing graphics and removal. Stripping old vinyl is its own job with its own hours and its own risk. Quote it as a separate line, never buried inside the install price.
- Hardware and trim. Mirrors, handles, lights, roof rails. Every removal and refit is time.
Step 2 - Design and Panel Split
How you split the artwork determines how much of the wrap is straightforward and how much is a fight:
- Put seams where panels join rather than in the middle of a flat door, so the eye reads a body line instead of a cut.
- Allow overlap between adjacent panels - a wrap that meets edge-to-edge with no overlap will open with movement.
- Keep critical artwork away from deep curves where the film has to stretch, because stretch distorts what's printed.
Step 3 - Print and Laminate
The laminate is not optional protection - it's what decides the outdoor life of the job. Two things to be deliberate about:
- Match the laminate to the exposure. Horizontal surfaces take far more UV and weather than vertical ones and need the more durable option.
- Never re-cost the laminate after the customer has agreed a price. Substituting a cheaper laminate to protect margin is how a wrap fails in year two and takes your reputation with it.
Step 4 - Contour Cut to the Printed Outline
This is the cutting step, and it's where hand-trimming quietly wrecks fleets. Printed panels need to be cut to their actual artwork outline before application, which means the plotter has to find the printed marks on a sheet that the printer has already stretched slightly.
That's what camera contour cutting does: it scans the registration marks and positions the cut around the real printed artwork, at ±0.1mm repeat accuracy on the SD series. The difference shows up in three places:
- Panels line up across a door or hood. Precision here is what makes a wrap read as shop-installed rather than hand-made.
- Multi-vehicle orders stay identical. A fleet has to match vehicle to vehicle, not just panel to panel.
- Fewer wasted sheets. On printed wrap film, one mis-trimmed panel costs far more than the setup time you saved by not calibrating.
If you're currently trimming printed panels with a knife and a steady hand, this single step is the strongest argument for the machine - see the vinyl cutting plotter range for what the camera setup looks like in practice.
Step 5 - Surface Prep (The Step That Decides Everything)
Adhesive sticks to clean substrate and nothing else. There is no clever film that rescues a dirty panel:
- Wash the vehicle properly, then degrease. Wax and silicone residues are the most common cause of early lifting.
- Wipe down with isopropyl alcohol immediately before application, and don't touch the surface with bare hands afterwards.
- Work in a controlled space. Wind and grit under the film is permanent once you squeegee it down.
Prep hours are the first thing shops cut when a price feels tight. It's also the first thing that comes back as a warranty claim.
Step 6 - Application
- Dry application for smaller panels and graphics where you need immediate, strong bond.
- Wet application for large sheets where you need repositioning time - with the discipline to squeegee all the solution out, because trapped moisture turns into bubbles and clouding.
- Work direction matters. Squeegee from the centre outward so you push air out instead of trapping it, and don't stretch the film to force it into a recess.
Step 7 - Post-Heating and Edge Sealing
Edges are where wraps fail first, because edges are where lifting starts. Warm the film along every edge and recess and work it down firmly so the adhesive fully contacts the substrate rather than sitting at partial contact waiting for a hot day. This step takes minutes per vehicle and prevents most of the come-backs a wrap shop sees.
Step 8 - Quality Check and Handover
Inspect the finished vehicle in daylight, photograph every panel before the customer arrives, and be explicit about aftercare - no pressure washing at the edges, no wax on the film for the first weeks. A customer who damages a wrap they were warned about is a very different conversation from one who wasn't.
Step 9 - What the Quote Has to Contain
Reviewing the whole workflow, a wrap quote has more line items than most shops put in it:
- Removal of existing graphics, as a separate line
- Surface prep and correction hours
- Film, laminate, and waste allowance
- Print and cut time
- Application hours - per panel, not per vehicle
- Post-heating and edge sealing
- Rework risk, priced rather than hoped away
The Takeaway
A wrap makes its money in the steps that don't look like production: inspection, prep, removal, edging. The cutting step is fast by comparison - and with camera contour cutting it's also the most repeatable, which is what lets you promise a fleet instead of a one-off. Quote the parts nobody sees, and the parts everybody sees will look like your shop did them.
Not sure how much contour capability your wrap work needs? See the applications on our vehicle decoration page, look at the Purcell vinyl cutting plotter range the work runs on, or send us an inquiry and we'll help you match a plotter width and camera setup to the vehicles you actually wrap.